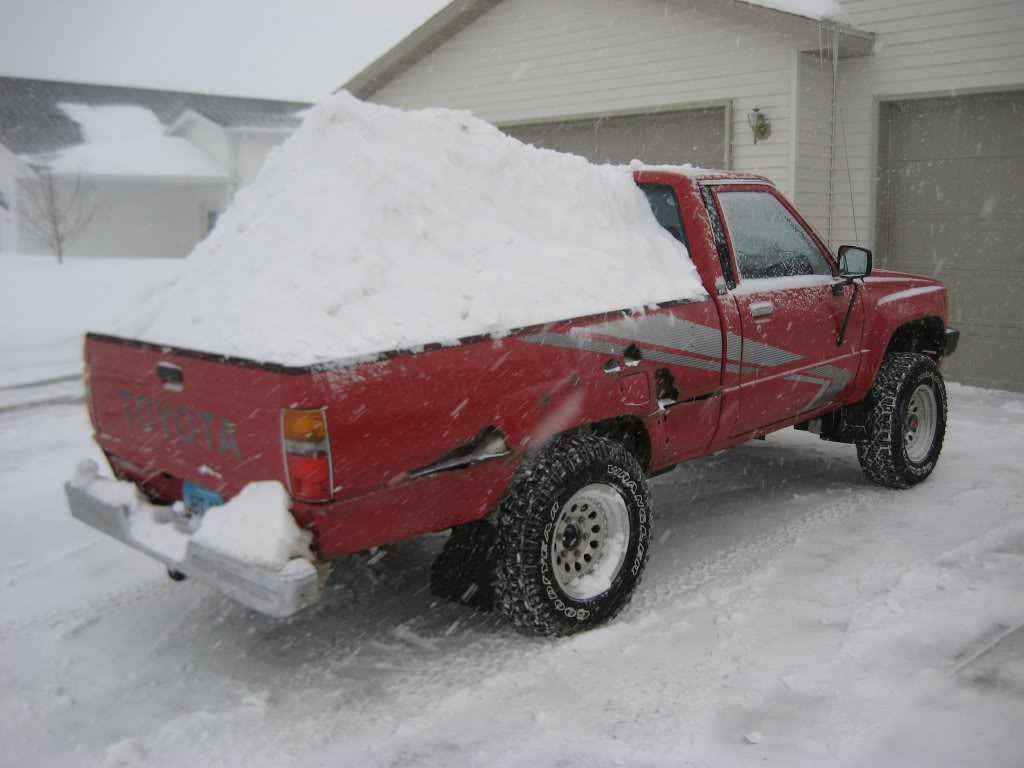
As I was looking over our 1994 parts truck, I was looking for pieces that I might need on my truck. As I was looking on the inside I realized that the rear window was a sliding window, something that my truck doesn't specifically have. I went on a few forums and sorted through articles to see if the 4th gen windows can fit in a 3rd gen's and from what I read they share the exact same dimensions. I had no clue how to take the piece out though, so I went to my favorite source for tutorials, YouTube. With a quick search I found this video and it gave me the exact tips and tricks I needed for taking this part off. Turns out the process is actually pretty easy, the seal is just molded perfectly to fit in the truck meaning there is no adhesive to pry off. All I really needed was a few fathead screw drivers with tape on them (to soften them down and have a lower chance of shattering the glass) and a few attempts of prying at the corners of the seal and I slowly worked my way around it was out surprisingly fast.
I'm hoping a lot more of these "little" projects on the truck will turn out like this, but I know some will be harder than other because of rust or even just something unexpectedly breaking. I'm sure I'll learn plenty of more strategies as well, I'm excited to apply them to the project.
Friday, November 22, 2019
Monday, November 18, 2019
A Truck That Almost Runs...
Last week we stored the good motor in the back of the truck while we waited for a nice day to put it into the engine bay. Throughout the week I stopped by and sprayed the block with a natural de-greaser called Simple Green so that the engine will be somewhat clean before it gets dropped in.
On Fridays my Dad gets out of work early at noon so he started working on the truck with my Uncle at around one in the afternoon and I told him I'd be there in an hour when I get out of school. When I got to BF at 2:30 they were putting the engine in the truck already so I ran over to see how it was going. The engine eventually went into the transmission but it was twisted just a little bit which made it not want to go in all the way. Other than that everything was looking like it was lining up perfectly.
Later this week we should be able to line it up correctly and get all the bolts into the bell housing and start hooking up all the hoses and cables!
The Engine is Out !
Two weekends ago, on Saturday the 9th, my Dad and I headed over to my Uncle's at 11 in the morning and we tackled what we had left to disconnect on this engine. We mainly just had to disconnect a fuel line, a cable to the transmission, and one last transmission housing bolt that was loose enough to twist out with our fingers. Then the 22RE was ready to be pulled out
This one actually ended up coming out a lot easier than the first one, which I think was because we jacked up the transmission and also cut out the front of the truck since we have no use for the parts truck after this. Once it was out we found a pretty big mouse nest in the clutch too, luckily they didn't do any damage.
Finally, we tipped the pickup over on its side with the tractor and the frame split in half as we did. All of the valuable parts had already been taken off (besides the wheels) and we wanted to get the transmission out to have as a spare, so we figured this was the easiest way of doing so.
Hopefully before Thanksgiving break we can have the new engine in my 88 pickup and have it running!
Wednesday, November 13, 2019
Pre-Thanksgiving Goals
My goal for before break is to get the engine swap FINISHED. Its important that I do it soon because once snow sticks to the ground it'll be a lot harder to get the engine put back in. Also, as I mentioned in a past post, once the pickup is derivable It'll be way easier to work on because I can move it in and out of the garage to work on.
During break I hope to have the truck running and bring it back to my house so I can keep making progress!
A Short Update
Where am I with things:
Last weekend we pulled the engine from our parts truck and started prepping it for installation. I'm hoping by the end of this week we'll be able to place it in the engine bay as long as the weather stays above freezing. Then next week I'll plan on steadily connecting the many hoses and wires so that it runs. Once we get the truck moving it'll be a huge step forward in the project and I can start focusing on the other issues like suspension, brakes, etc.
I haven't done a whole lot of reading yet but plan on starting Zen and the Art of Motorcycle Maintenance soon. I've mainly just been using Facebook groups and YouTube videos for guidance so far.
The only challenges lately have been the weather. Once snow falls its going to make work a lot harder but once the truck is back at my house I'm planning on setting up a heater in my barn and having that as my work shop. I don't have electricity out there but I'll figure out a way to run extension cords from the house.
Expanding my Knowledge
During this project I plan on having multiple online sources and physical sources to use as research components for when I need guidance while working hands on. Some of these include; Haynes Repair Manual for Toyota Pickups and 4-Runner, and online forums such as yotatech.com and a Facebook group full of Toyota enthusiasts who are always eager to give out advice.
I plan on doing a research component on mechanics too and plan on reading Zen and the art of Motorcycle Maintenance as well just to get a better idea of what mechanics is actually like.
If I end up finding anymore useful resources I'll be sure to add them to the blog!
Tuesday, November 5, 2019
Preparing for Years to Come
After removing the engine we decided to drag the red pickup closer to the garage and used an air compressor to blow all the years of dirt and rust out of the engine bay. The previous owner seemed to have oil undercoated the truck routinely so even after being on the road for thirty-one years its still very solid.
To try and protect the truck even longer I figured now would be a great time to coat the entire front of the truck with oil while everything's exposed. We filled up the spray gun with used motor oil and started coating all the components made of steel to slow down and even block rust. I did this for a good hour and reached every nook and cranny that I could find. I plan on going back on Wednesday and even spraying another coat of oil down and to get any places that I might have missed. I'll also spray the rest of the body and frame too to ensure maximum coverage.
Taking the time to do the little steps like this are key to having the vehicle be able to survive another 30 years and it was surprisingly simple and I had a fun time learning a new skill!
As you can see almost every surface has a shiny oil coating |
My Uncle Bryan and I stopped to take a pic |
Me spraying oil on the pickup |
One Engine Down, One More to go
I had to use a super long extension to reach the bell housing and starter screws |
The other engine that we're planning on using for the truck is basically ready to come out too but we wanted to take the "junk" one out first so we can get the idea of how to take it out for the first time and take notes of what works best so we have a lower chance of damaging the good engine.
Hopefully the removal of that other one will happen later this week and then we can drop it right into the engine bay of my pickup and hook up all the connections throughout the weekend.
Making Progress!
This Saturday we loaded my truck onto a trailer (Which took a while because it doesn't run and didn't want to go up the ramps easily) and transported it to my Uncle's in BF where we'll be swapping out the engines.
Subscribe to:
Posts (Atom)
What a Relief!
This weekend was the big day... taking off the wooden bed. Taking off the bed exposes most the frame and most of the components in the rear ...
-
After removing the engine we decided to drag the red pickup closer to the garage and used an air compressor to blow all the years of dirt an...
-
This weekend I made my order of parts for the truck from rockauto.com . I double checked with other websites and basically all of rockauto...